Huawei phone decustomization, region and model change
Requirements
Hisuite installed on PC or separate driver pack (Download here)
HCU timed license account (advised)
Files you want to use for decustomization
(Example is done with Huawei Mate 9 from MHA-AL00B_C00B213 to MHA-L29B_C432B182)
Note: If this method does not work for you, refer to Method 2 in DC-Phoenix guide for repair/region change using testpoints.
Step 1
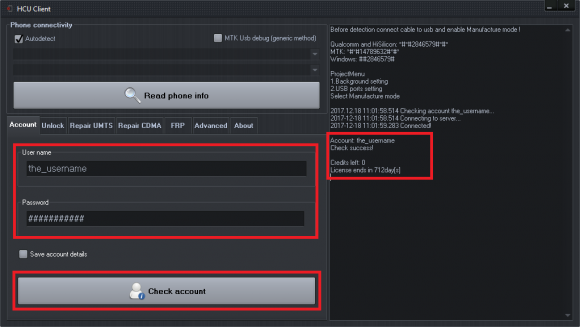
Launch HCU software (Download here)
Log in with your HCU timed license account (advised)
Step 2
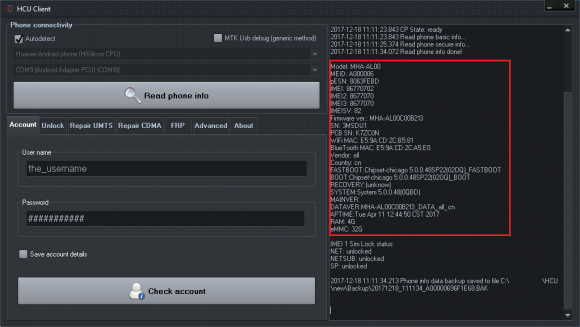
Connect phone in manufacture mode (Qualcomm and HiSilicon: *#*#2846579#*#*)
Press "Detect phone"
Step 3
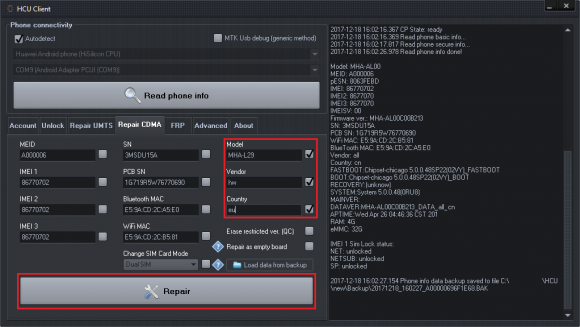
Open "Repair UMTS" (if phone has MEID then "Repair CDMA")

Step 4
Select Model, Vendor and Country fields. Fill in new info that matches new firmware and customization file data. Press "Repair"

Step 5
After repair completes wait for phone to restart/reset. Then turn it off and connect to PC while in Rescue or update mode.
Download DC Phoenix software here
If there is no DC-Unlocker/Rocker/Vygis or Infinity dongle connected to PC, then log in screen will appear. Use your account details to log in
5.png)
Step 6
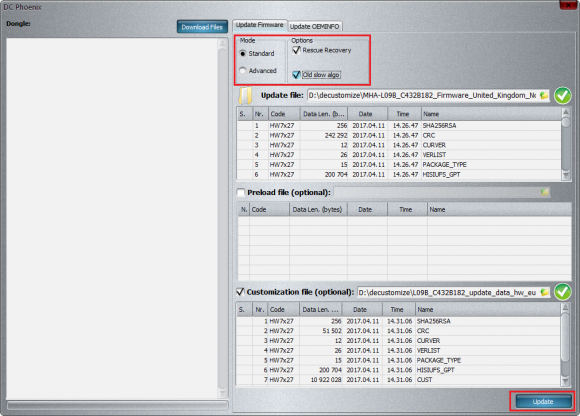
On DC-Phoenix window select new firmware and customization files whose data you used for repairing phone on HCU.
Select "Rescue Recovery" option and if phone has Kirin659 or Kirin960 cpu check "Old slow algo"checkbox too.
While turned off, hold vol- button and connectect mobile to pc. After its recognized on computer, press "Update" button.
Step 7
Wait till you see message indicating flash process end
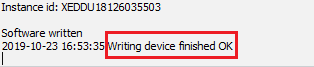
Now your phone decustomized